
There’s tons and tons and tons of information on how to do food photography like a pro, but many of them require that you’re fully kitted out and experienced with a DSLR, tripod, and light kit; that you are not a beginner, understand the lingo, and know what the heck an f-stop is; that you have at least some experience with things like photo editing.
Where does that leave you if you’re not one of the above? Maybe you’ve just started doing recipes on your site, and you want to improve your food photography, but you can’t afford to sink several hundred dollars into equipment.
Well the idea behind food photography is simple: You want people to think whatever you’ve taken a picture of looks good enough to eat. And the truth is that you don’t have to be equipped like a pro to begin taking better food photography.
You can start modestly, and work on improving your equipment and technique gradually. Here’s 6 no-cost and low-cost things that may help:
1 – Go to Value Village & the Dollar Store for props and dishware. Odds are that your regular dinner set isn’t going to cut it… you don’t want colours and patterns. You don’t want chips and dings. You know that flat, pristine white dishware that I use in my photography? $1. And the large wood cutting board beneath it that I’ve been using for months was $30, but I’ve used it so much it’s paid for itself a hundred times over.

2 – Your phone can probably do more than you think – If you’ve got a half-decent camera on your phone, you can make do for now. I have a Canon Power Shot DSLR and an HTC One (old model 7). Guess what I use to do all my photography right now?
3 – Use natural light – Not only is it what the pros prefer to use whenever possible… it’s FREE. Turn off the flash on your camera or phone and set up by the window. Also try to note the best times of day that you get good, diffuse indirect light. If you don’t have a lot of great table-placement options, set a chair by the window (or even a cutting board across the sink). Incandescent lights can tint your photos yellow. Outdoor light tends to be more white-blue. Sometimes it can’t be helped, and you’ll have to supplement with artificial light, but nothing beats the results you’ll get if you can use the sun.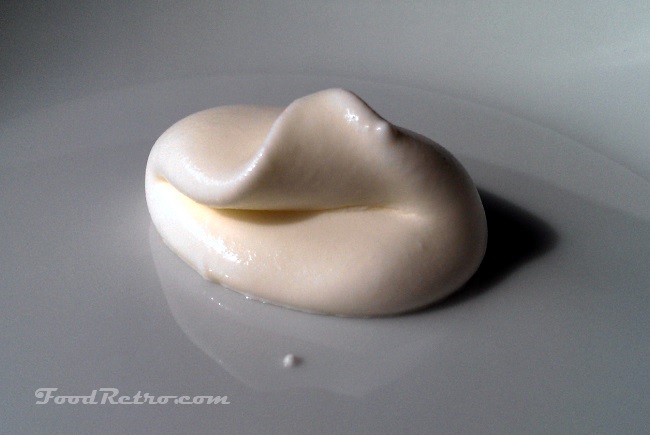
4 – Use Paint.net – Photoshop is a great tool, but it’s about $10/month to subscribe which may be a lot of money out of a beginner’s pocket. I don’t endorse software piracy. Why, when there’s a couple of decent free photo-editing programs out there? Paint.net is like a stripped-down version of Photoshop, but it does have all the same essential capabilities like layers, sharpening, curves and saturation. Buy the freelancer a coffee for $10, be legit, and feel good that you supported him. And then start playing. It won’t be long before you start getting the hang of how to compensate for problems like overcast days, and the quality of the photos you take will improve.

5 – Composition 101 (centering is boring) – It’s commonly known as the rule of thirds, but when I was in Journalism back in High School, we called it simply “the grid.” This super-simple photography tip will probably do more to improve your photos than anything else. Imagine a grid that looks like this when you set up your shots, and keep in mind that that the lines represent “regions of interest” where the eye is naturally drawn. The intersections of the lines are focal areas, and things that fall near these points will get the most notice. So make sure you put the intersections to good use, and let food naturally spill off the “edges” of photographs to take advantage of the grid without even thinking about it.

6 – Get closer! – It’s all about the food anyway, right? Getting “close enough to lick” conceals a lot of lacks in things like control over depth of field and beautiful props. There’s nothing wrong with keeping it simple.

These are fantastic tips. Thank you!
These are absolutely fabulous tips!! Thanks so much for the advice.
Excellent tips. I use some of these already, but learned a few new ones too.
These are great tips! I don’t photograph food often, but when I do I’m giving all these a try!
Great tips and great photos, Thanks for sharing.